Tutorial
Using Traefik to Conveniently Deploy Docker Container Services
In the cloud computing era, containerized services have become the prevailing trend. Traefik, a cloud-native open-source reverse proxy and load-balancing tool, stands out for its strong performance and service discovery capabilities. This article demonstrates how to deploy and configure Traefik so you can get started quickly.
On this page
Preface
Before using Traefik, I had always used Oneinstack as my server panel. For PHP application environments, Oneinstack’s comprehensive automated configuration is very helpful for centrally managing basic application services such as Nginx, MySQL, and Redis. However, as more and more new open-source projects appear, newer applications are increasingly recommended to be deployed with Docker. At that point, you quickly find that continuing to configure everything manually through panels such as Oneinstack—especially Nginx configuration—becomes extremely challenging.
So, after learning about Traefik’s advantages as a cloud-native reverse proxy, I decisively switched all of my self-hosted services to Traefik. So far, everything has been very smooth. I once opened a new ARM instance on Oracle and redeployed all services from the old instance with Docker; the whole process took less than an hour, which was remarkably efficient. If I had used an unattended installation from a traditional panel, setting up the environment alone might have taken several hours. For the operations work of an individual webmaster, a single-node Docker Compose setup combined with Traefik and the Portainer panel can bring a huge productivity boost.
Unfortunately, Traefik’s official documentation is rather sprawling and can easily confuse newcomers. Meanwhile, tutorials shared by technically skilled people in China often fall into the trap of showing off, making configuration files extremely complex and very unfriendly to understanding and later maintenance.
For these reasons, I have combined my own practical experience to provide a reference approach that makes convenient service operations easier to achieve. This tutorial is based entirely on deployment on a single Linux instance and does not yet cover multi-instance scenarios such as Docker Swarm or K8s. For individual webmasters, I believe this is already enough.
Prerequisites
- You already have a Linux instance (this article uses Ubuntu as the example operating system, on an Oracle Cloud ARM instance)
- You have configured the inbound rules (Ingress Rule) of the cloud service gateway
Basic Environment Configuration
1. Installing Docker and Compose
One-click installation script for Docker and Compose (please make sure you are using the full Ubuntu system; if you use the minimal version, you also need to complete the network-card-related configuration in advance)
# 如遇到权限不够的问题,可以使用 sudo -i 切换root用户执行,成功后再退出为普通用户即可
bash <(curl -sSL https://cdn.jsdelivr.net/gh/SuperManito/LinuxMirrors@main/DockerInstallation.sh)
You can also use the official installation commands:
# 官方脚本
bash <(curl -fsSL https://get.docker.com -o get-docker.sh)

# 安装compose
sudo apt-get install docker-compose-plugin
2. Deployment Approach
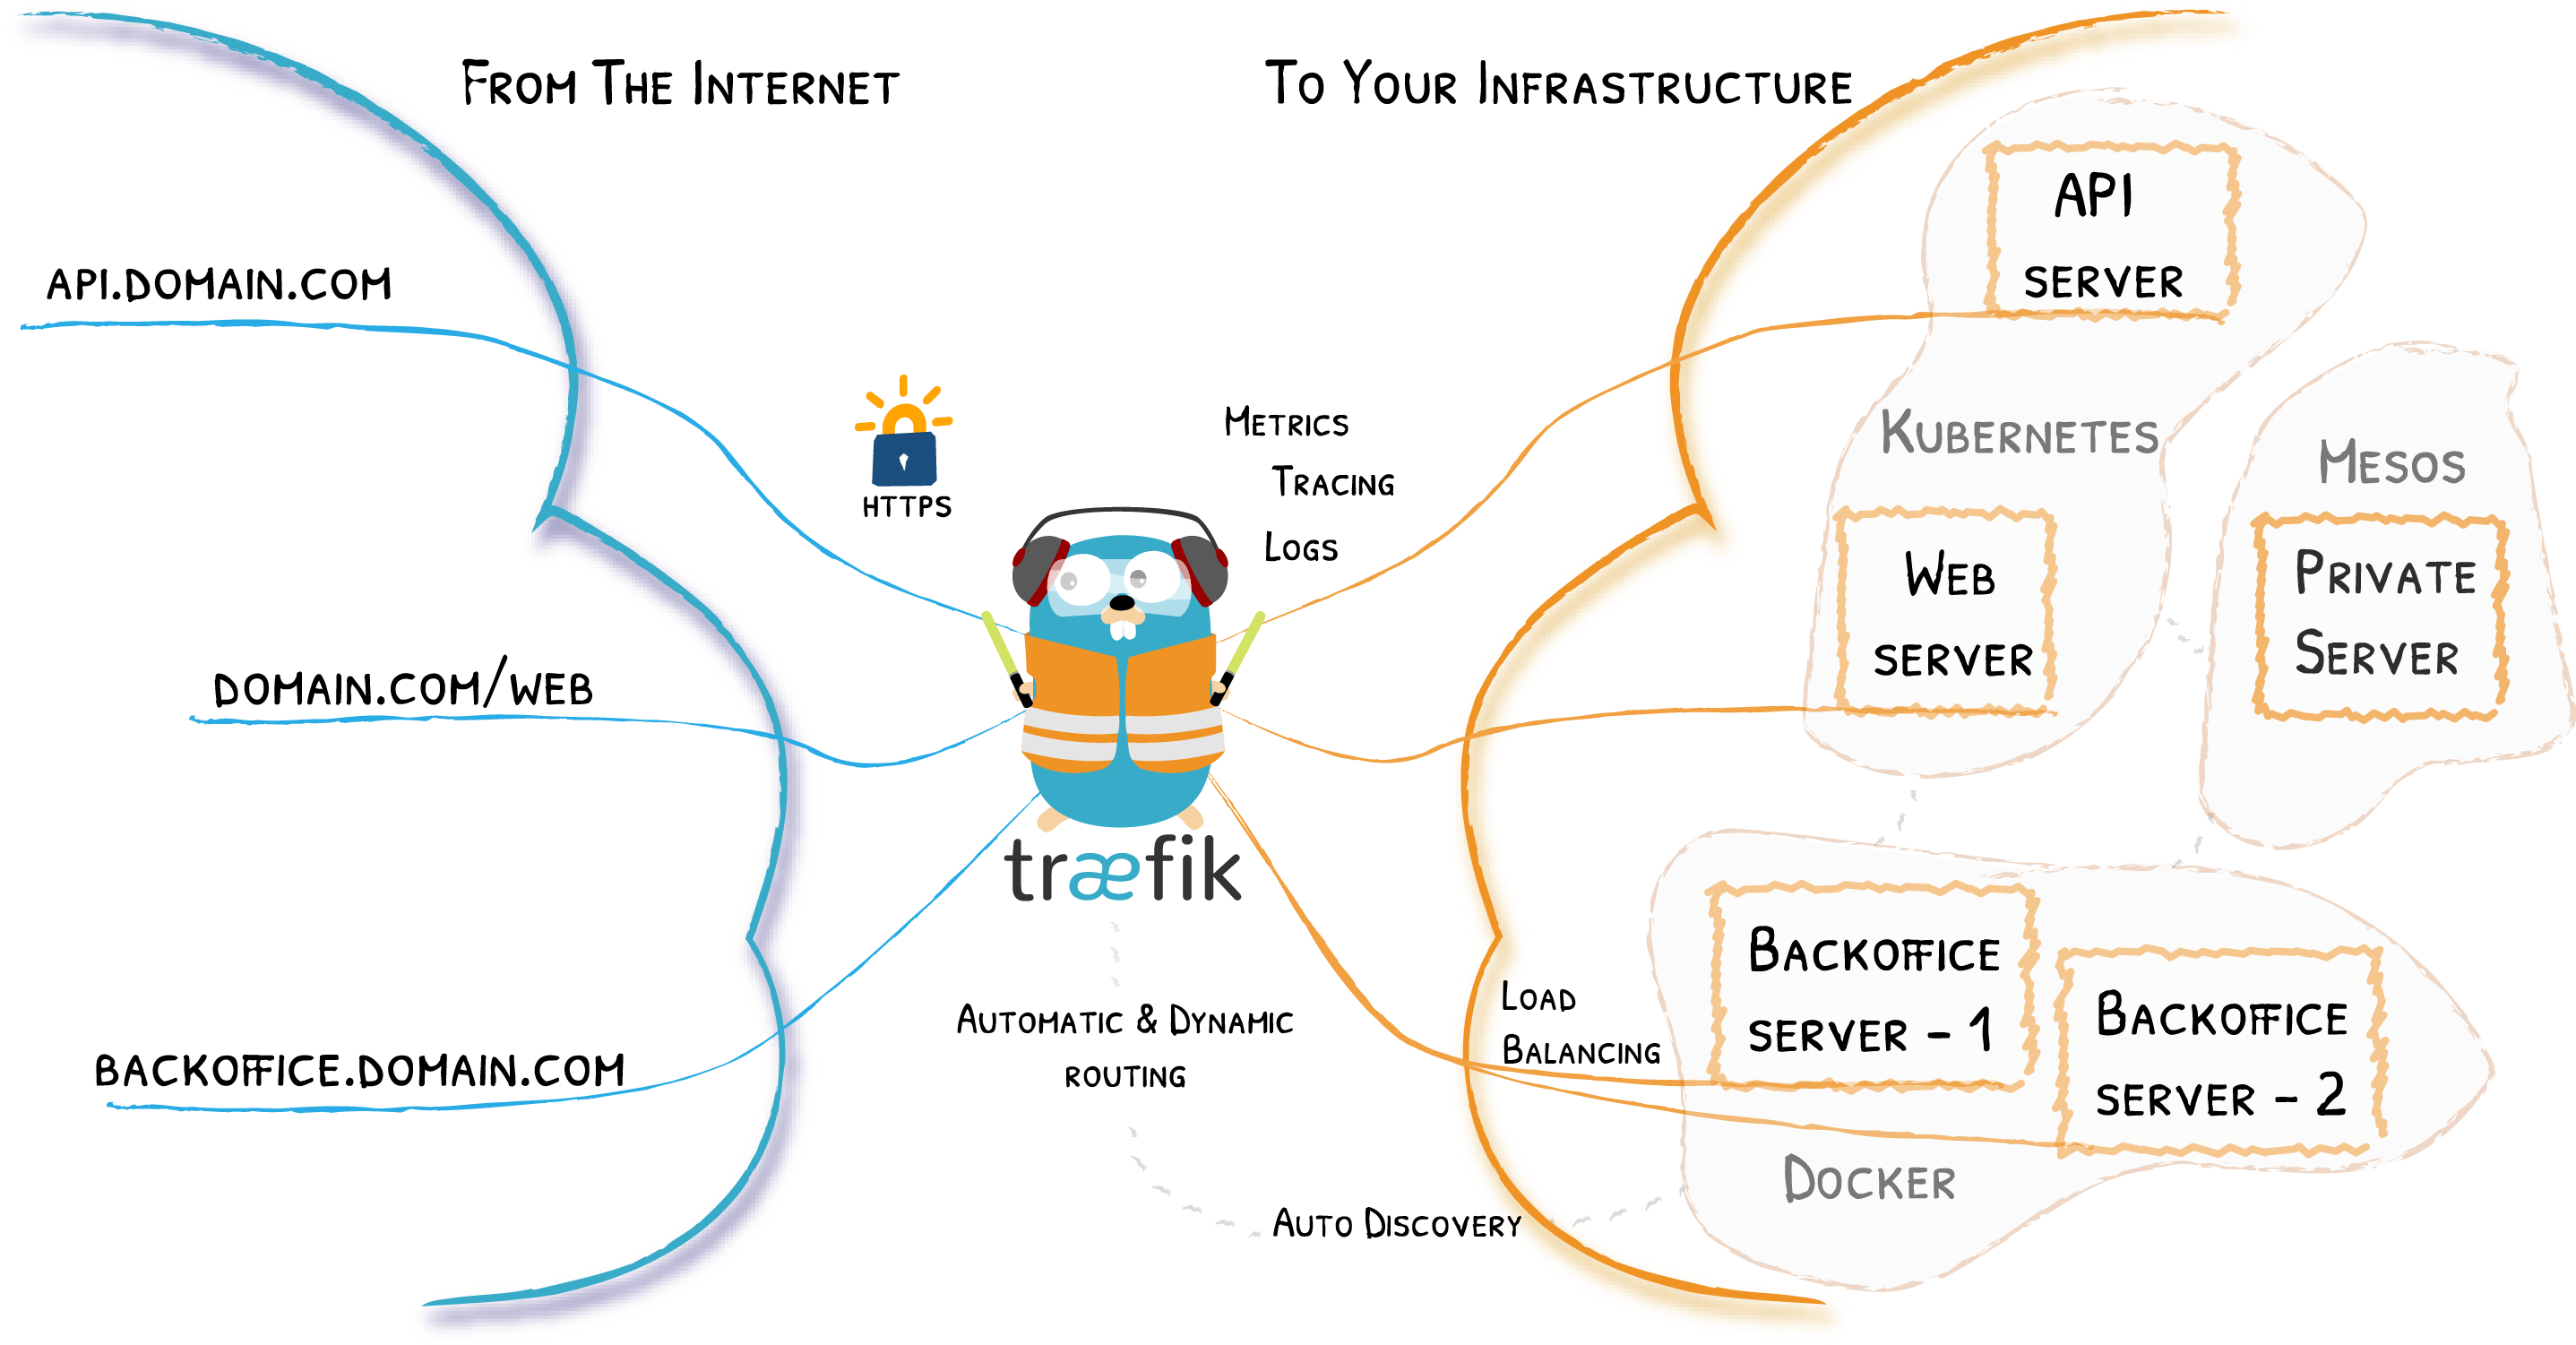
As the key node for container services, Traefik’s role and architecture can be understood very intuitively from this diagram in the official documentation:
 Open larger image: Traefik architecture
Traefik services depend on configuration files, including two files: the static configuration traefik.yml and the dynamic configuration dynamic.yml. The dynamic configuration supports hot updates. The static configuration mainly contains foundational service settings, such as entryPoints and providers. The core purpose of the dynamic configuration is to build middleware so other container services can reuse it.
Traefik configuration parameters can also be specified through the command and labels fields in the docker-compose.yml file, but this is not recommended for easier management later. We should pursue clear configuration logic and concise reuse as much as possible.
In addition to Traefik’s own configuration files, we also need to consider container data persistence. I previously found that quite a few tutorials scattered persistent container data across different system folders, such as /opt/docker/<application> or /data/docker/<application>. This approach makes later unified management or backup very cumbersome. I recommend managing the data of all containerized services in one place, including Traefik-related configuration.
We can create a new src folder under the current user’s home directory for unified data persistence. Under src, create two folders, apps and core, to store newly created containerized services and the core Traefik & Portainer services respectively. This way, if backups are needed later, we only need to handle the src folder, which greatly improves efficiency.
This deployment approach comes from Raf Rasenberg and is a method that I have found convenient and efficient in practice.
3. Building the Working Directory
Based on the deployment approach in point 2 above, we can directly clone the working directory containing the relevant configuration files from GitHub:
git clone https://github.com/rafrasenberg/docker-traefik-portainer ./srcThen cd into the src folder and use the tree command to view the directory structure, as shown below:
.
└── src/
    ├── core/
    │   ├── traefik-data/
    │   │   ├── configurations/
    │   │   │   └── dynamic.yml
    │   │   ├── traefik.yml
    │   │   └── acme.json
    │   └── docker-compose.yml
    └── apps/
4. Traefik Configuration File Example - traefik.yml
Now let’s update the traefik.yml configuration file, mainly updating the acme account email:
Use the nano command to edit the traefik.yml file:
nano src/core/traefik-data/traefik.ymlExample traefik.yml configuration file:
global:
  sendanonymoususage: false
  checknewversion: false

api:
  dashboard: true

ping:
  entryPoint: "ping"
  manualRouting: false
  terminatingStatusCode: 204

entryPoints:
  ping:
    address: ":8082"
  web:
    address: ":80"
    http:
      redirections:
        entryPoint:
          to: websecure
          scheme: https
          permanent: true
          priority: 10
  websecure:
    address: ":443"
    http:
      middlewares:
        - secureHeaders@file
        - https-redirect@file
      tls:
        certResolver: letsencrypt
  webudp:
    address: ":8000/udp"
    udp:
      timeout: 10s

providers:
  docker:
    endpoint: "unix:///var/run/docker.sock"
    watch: true
    exposedByDefault: false
    swarmMode: false
    swarmModeRefreshSeconds: 15
    useBindPortIP: false
    network: proxy
  file:
    # 目录地址: "/home/username/src/core/traefik-data/configurations"
    filename: /configurations/dynamic.yml
    watch: true
    debugloggeneratedtemplate: true
  providersThrottleDuration: 10

certificatesResolvers:
  letsencrypt:
    acme:
      # 请更新为您自己的邮件地址
      email: [email protected]
      storage: acme.json
      keyType: EC384
      httpChallenge:
        entryPoint: web

# 试验性的插件,可不用装
experimental:
  plugins:
    fail2ban:
      moduleName: "github.com/tomMoulard/fail2ban"
      version: "v0.6.6"

log:
  level: warn
format: commonTip: In the traefik.yml configuration, we configured:
pingfor the later healthcheck;entryPointsfor the logic that forwards HTTP traffic on port 80 to HTTPS on port 443;letsencryptto automatically issue certificates for services.
5. Traefik Configuration File Example - dynamic.yml
Before configuring dynamic.yml, let’s complete some preparation.
First, use htpasswd to create the username and password for the Traefik dashboard:
# 如果未安装htpasswd,要先安装
sudo apt install apache2-utils

# 生成用户名密码,后续用于更新至dynamic.yml中
echo $(htpasswd -nb <username> <password>)

# 这里是用户名密码示例:
echo $(htpasswd -nb username password)
Output:
# 请记录该结果,后续配置时需要用到。
username:$apr1$KkPgzi8h$yDdbH4ORUgbY0m/MT0IJ81
Then create a new Docker network named proxy:
sudo docker network create proxyFinally, we begin updating dynamic.yml, mainly updating the authentication username and password.
Command to edit dynamic.yml:
# 先删掉示例文件吧
rm src/core/traefik-data/configurations/dynamic.yml

# 新建dynamic.yml文件
nano src/core/traefik-data/configurations/dynamic.yml
Contents of dynamic.yml:
# 动态配置
http:
  middlewares:
    # 使用方法:traefik.http.routers.myRouter.middlewares: "default@file"
    # 等效于:traefik.http.routers.myRouter.middlewares: "default-security-headers@file,error-pages@file,gzip@file"
    # 此处未将自定义的error-pages加入default,因为并非所有服务均适合默认加入traefik的自定义错误页中间件,可能导致部分服务的正常功能被错误页中间件提前拦截
    default:
      chain:
        middlewares:
          - https-redirect
          - nonwww-redirect
          - secureHeaders
          #- error-pages
          - gzip
    https-redirect:
      redirectScheme:
        scheme: https
        permanent: true
        port: 443
    nonwww-redirect:
      redirectRegex:
        regex: "^https?://(?:www\\.)?(.+)"
        replacement: "https://${1}"
        permanent: true
    secureHeaders:
      headers:
        #sslRedirect: true 该转发方式已被官方弃用
        browserXssFilter: true
        contentTypeNosniff: true
        frameDeny: true
        referrerPolicy: "strict-origin-when-cross-origin"
        forceSTSHeader: true
        stsIncludeSubdomains: true
        stsPreload: true
        stsSeconds: 31536000
    # 错误页中间件,后文中我们教大家单独配置自定义的错误页面来替换Traefik默认的错误页
    error-pages:
      errors:
        query: "/{status}.html"
        service: traefik-errors
        status:
          - "400-599"
    # 启用GZIP压缩(https://docs.traefik.io/middlewares/compress/)
    #   if the response body is larger than 1400 bytes
    #   if the Accept-Encoding request header contains gzip
    #   if the response is not already compressed (Content-Encoding is not set)
    # 使用方法:traefik.http.routers.myRouter.middlewares: "gzip@file"
    gzip:
      compress: {}

    user-auth:
      basicAuth:
        users:
          # 使用前面生成的用户名密码
          - "username:$apr1$KkPgzi8h$yDdbH4ORUgbY0m/MT0IJ81"

  services:
    traefik-errors:
      loadbalancer:
        servers:
          port:
            - 80

tls:
  options:
    default:
      cipherSuites:
        - TLS_ECDHE_ECDSA_WITH_AES_256_GCM_SHA384
        - TLS_ECDHE_RSA_WITH_AES_256_GCM_SHA384
        - TLS_ECDHE_ECDSA_WITH_AES_128_GCM_SHA256
        - TLS_ECDHE_RSA_WITH_AES_128_GCM_SHA256
        - TLS_ECDHE_ECDSA_WITH_CHACHA20_POLY1305
        - TLS_ECDHE_RSA_WITH_CHACHA20_POLY1305
      minVersion: VersionTLS12
6. Traefik Configuration File Example - docker-compose.yml
After setting up the static and dynamic configuration files, we can create the docker-compose.yml file to build the Traefik and Portainer container images (this example enables Portainer’s Edge feature).
Edit docker-compose.yml:
# 先删掉默认的文件
rm src/core/docker-compose.yml

# 新建docker-compose.yml
nano src/core/docker-compose.yml
Configure docker-compose.yml as follows:
version: "3.9"

services:
  traefik:
    image: "traefik:latest"
    container_name: traefik
    restart: always
    security_opt:
      - "no-new-privileges:true"
    networks:
      - proxy
    ports:
      - "80:80"
      - "443:443"
    volumes:
      - "/etc/localtime:/etc/localtime:ro"
      - "/var/run/docker.sock:/var/run/docker.sock:ro"
      - "./traefik-data/traefik.yml:/traefik.yml:ro"
      - "./traefik-data/acme.json:/acme.json"
      - "./traefik-data/configurations:/configurations"
    labels:
      - traefik.enable=true
      - traefik.docker.network=proxy
      - traefik.http.routers.traefik-secure.entrypoints=websecure
      - traefik.http.routers.traefik-secure.rule=Host(`traefik.domain.com`)
      - traefik.http.routers.traefik-secure.service=api@internal
      - traefik.http.routers.traefik-secure.middlewares=default@file
      - traefik.http.routers.traefik-secure.middlewares=user-auth@file
      # 此时还未配置自定义错误页的服务,下面这条可暂时注释掉;不过由于Traefik是所有其他服务的基础,也不太建议对Traefik启用自定义错误页,否则服务稳定性可能受其他服务影响而不稳定
      # - traefik.http.routers.traefik-secure.middlewares=error-pages
    healthcheck:
      test:
        [
          "CMD", "traefik", "healthcheck", "--ping"
        ]
      interval: 10s
      timeout: 5s
      retries: 12
      start_period: 5s
    logging:
      driver: "json-file"
      options:
        max-size: "1m"

  portainer:
    image: "portainer/portainer-ce:latest"
    container_name: portainer
    restart: always
    security_opt:
      - "no-new-privileges:true"
    networks:
      - proxy
    volumes:
      - "/etc/localtime:/etc/localtime:ro"
      - "/var/run/docker.sock:/var/run/docker.sock:ro"
      - "./portainer-data:/data"
    labels:
      # Frontend
      - "traefik.enable=true"
      - "traefik.http.routers.frontend.rule=Host(`portainer.domain.com`)"
      - "traefik.http.routers.frontend.entrypoints=websecure"
      - "traefik.http.services.frontend.loadbalancer.server.port=9000"
      - "traefik.http.routers.frontend.service=frontend"
      - "traefik.http.routers.frontend.tls.certresolver=letsencrypt"
      # 自定义配置的自定义错误页,不建议对Portainer启用
      # - "traefik.http.routers.frontend.middlewares=error-pages"
      # Edge
      - "traefik.http.routers.edge.rule=Host(`edge.domain.com`)"
      - "traefik.http.routers.edge.entrypoints=websecure"
      - "traefik.http.services.edge.loadbalancer.server.port=8000"
      - "traefik.http.routers.edge.service=edge"
      - "traefik.http.routers.edge.tls.certresolver=letsencrypt"

networks:
  proxy:
    external: true
7. Starting the Traefik Service
So far, everything looks good.
We still have a few final configuration items to complete. The default read/write permission of the acme.json file is 644, and when starting the container service, we may encounter permission-related issues. So let’s enter the core folder and set the correct read/write permission for acme.json:
sudo chmod 600 ./traefik-data/acme.jsonMake sure you are currently in the core folder, then use docker compose to start the service (do not add -d on the first run so that you can catch errors in time. After it succeeds, you can stop the service and restart it with -d):
sudo docker compose upAfter the service starts successfully, you can now visit the domains configured earlier, traefik.domain.com and portainer.domain.com, to view your services.
Note: On the first visit to Portainer, you need to set up an administrator account. Please configure it as soon as possible; if it times out, you will need to start over.
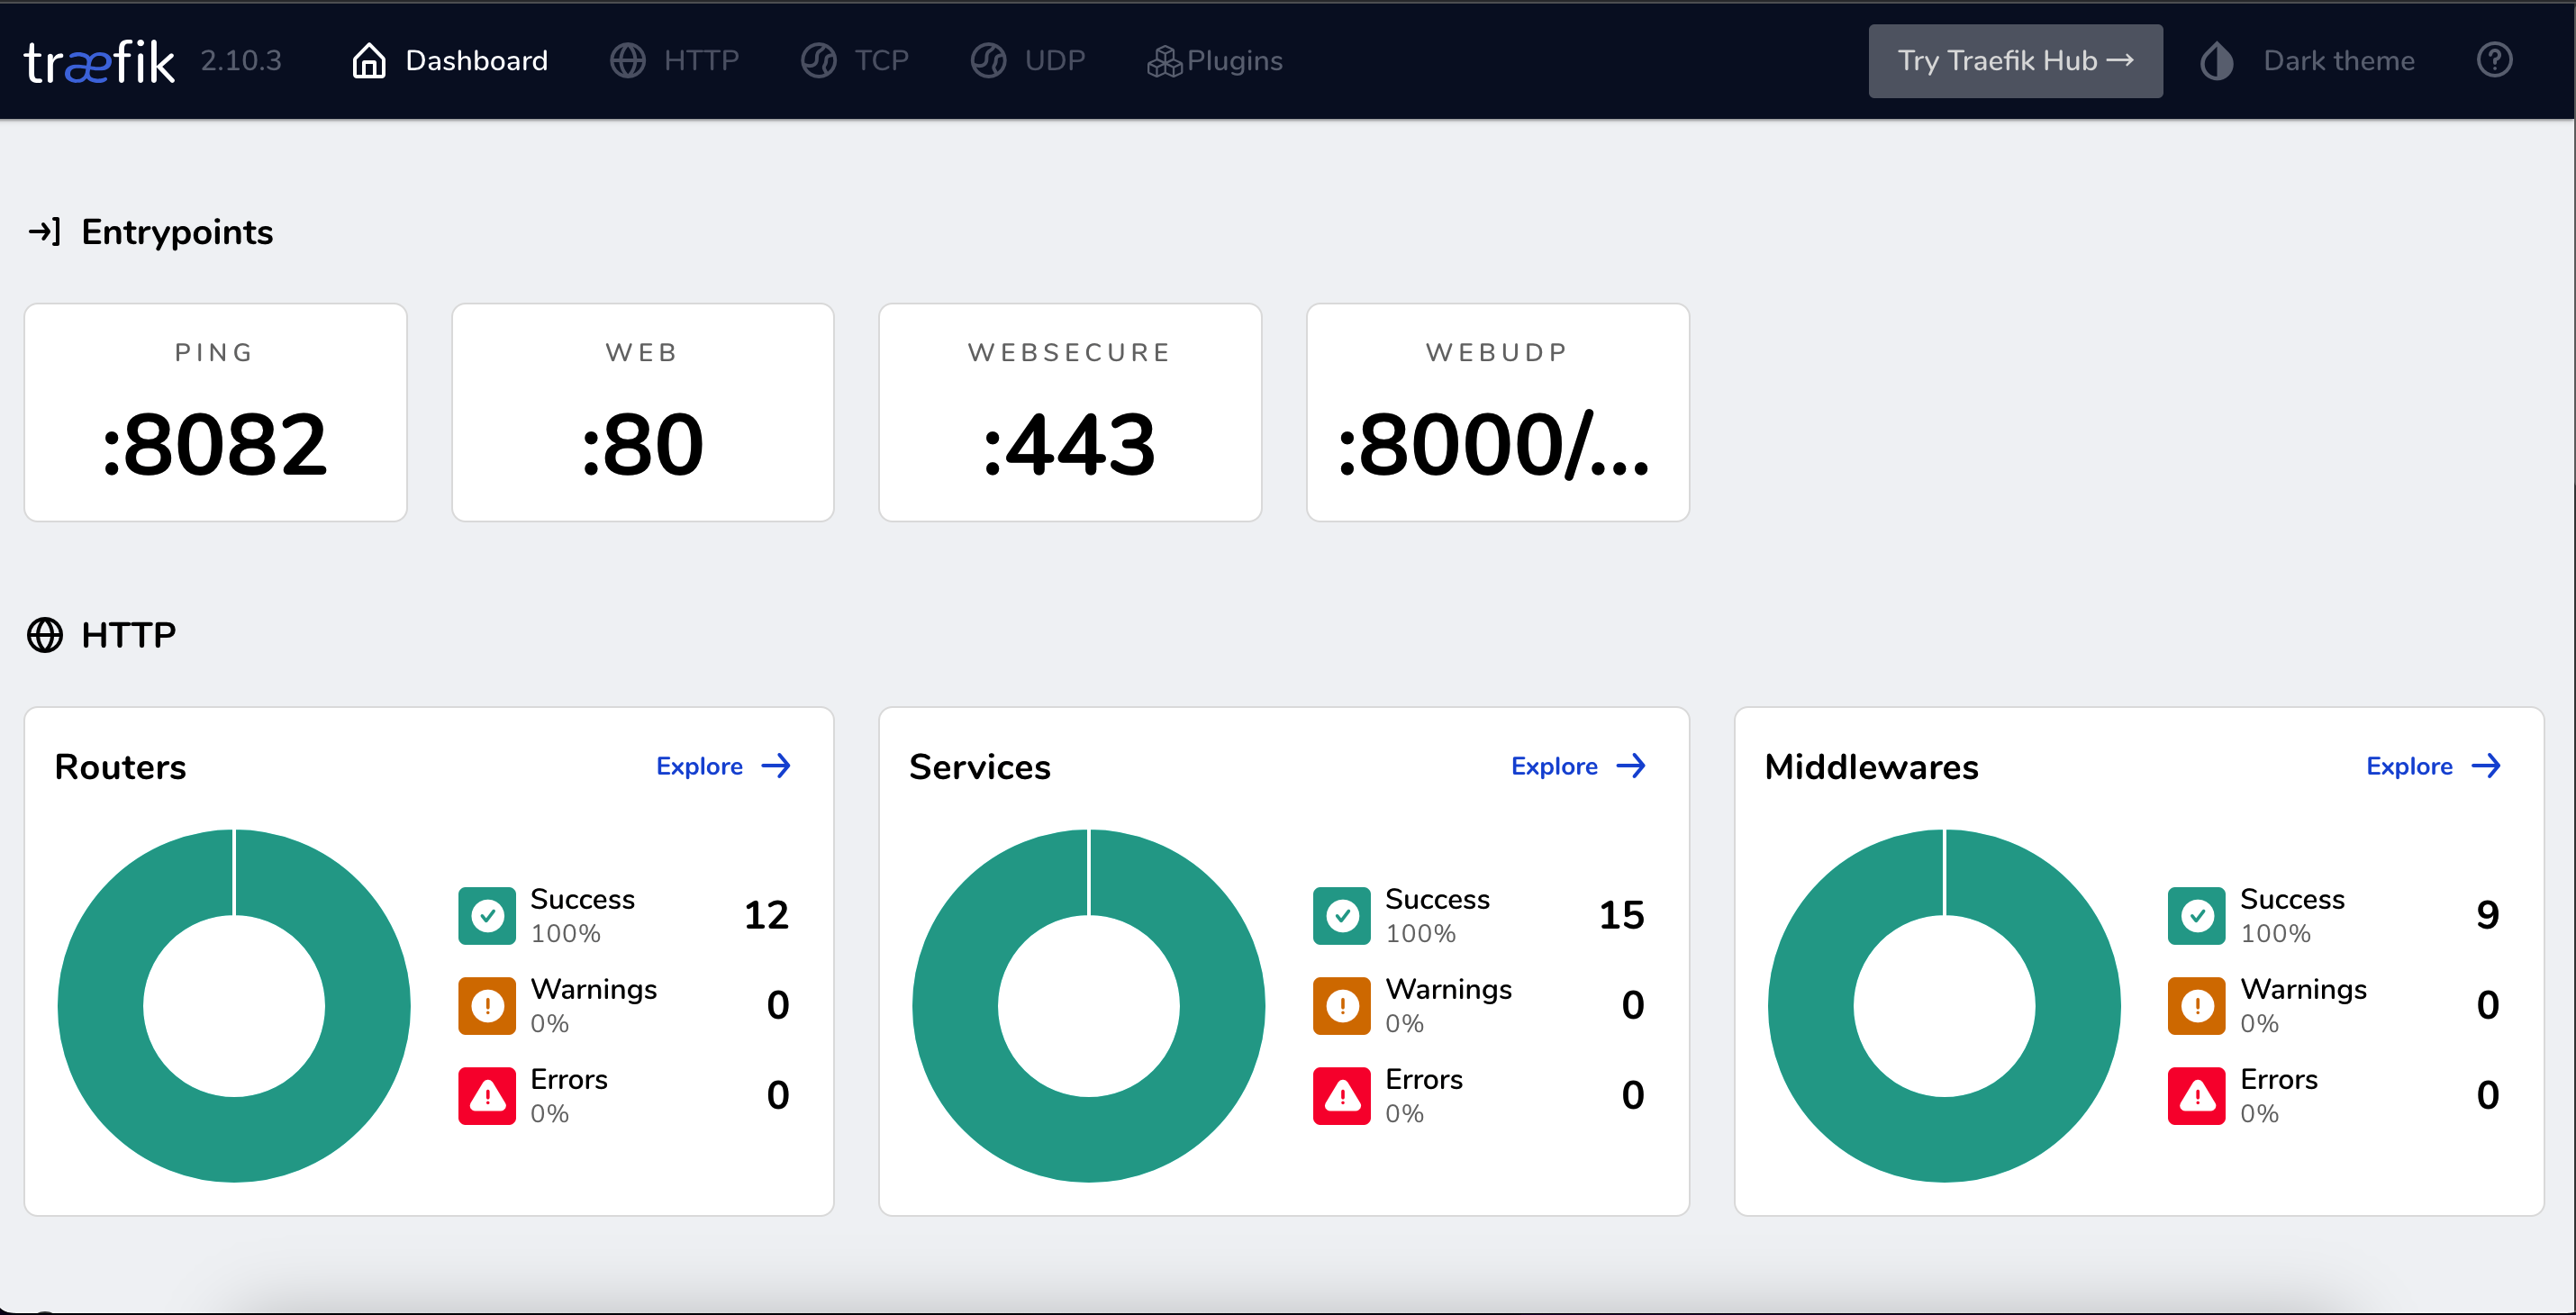 Open larger image: traefik dashboard
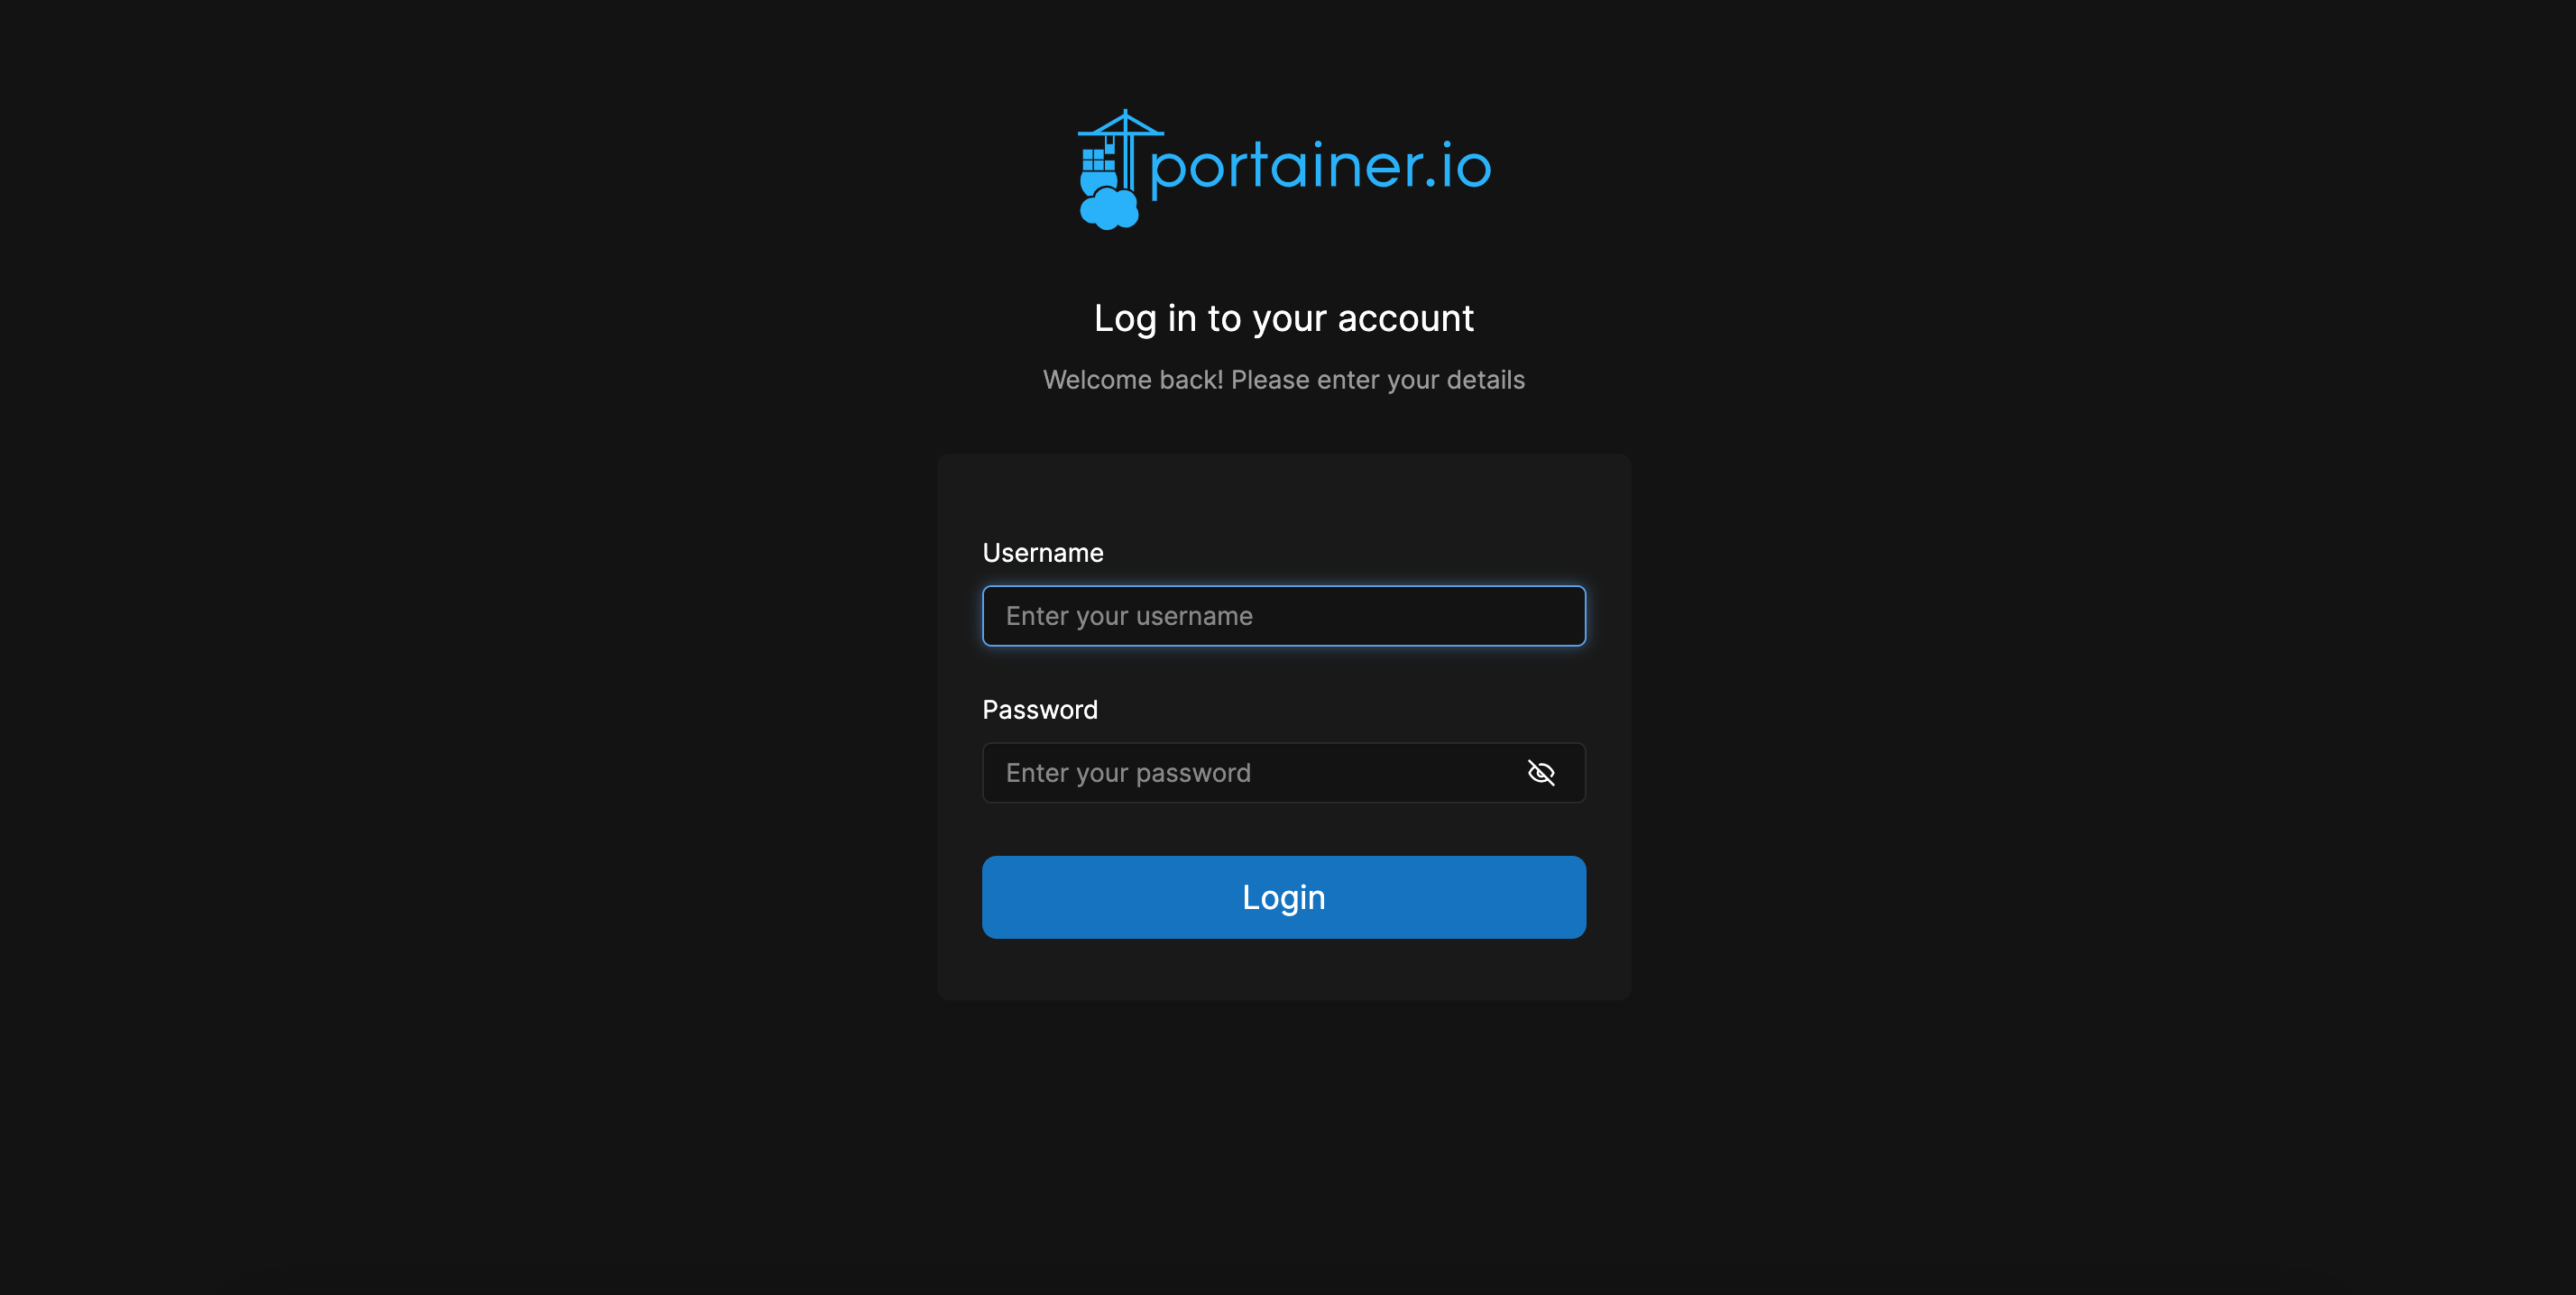 Open larger image: portainer login page
If the service is running normally and the terminal shows no errors, you can use Ctrl+C to stop it, then run the command below to restart the service and keep it running persistently in the background:
sudo docker compose down && sudo docker compose up -dReminder: If you changed service names in the compose configuration file, use the following command when stopping containers:
sudo docker compose down --remove-orphansWhile modifying the configuration, you may frequently use the following commands. They are provided for reference:
# 删除命令,慎用
rm -rf docker-compose.yml

rm -rf traefik-data/traefik.yml

rm -rf traefik-data/configurations/dynamic.yml

rm -rf traefik-data/configurations/dynamic.yml traefik-data/traefik.yml docker-compose.yml

# 编辑文档
nano traefik-data/traefik.yml

nano traefik-data/configurations/dynamic.yml

nano docker-compose.yml

sudo docker compose down --remove-orphans && sudo docker compose up -d
8. Configuring Universal Error Pages for Traefik
In terms of configuration logic, you should first build an nginx container to host pages for all error status codes (such as 404.html), then add the Traefik middleware and service for error pages (for other containers to use), and finally add the Traefik middleware to the labels when building other container services. After that, it can be used normally.
The specific steps are as follows:
Under the
appsfolder, create anerrorpagefolder and enter it.Prepare error pages in advance for the nginx container. You can directly use the rendered package from the open-source GitHub project tarampampam/error-pages.
wget https://github.com/tarampampam/error-pages/archive/refs/heads/gh-pages.zip- After downloading, unzip it and rename folders as needed:
# 解压至pages文件夹
unzip -d pages gh-pages.zip

# 移动子文件夹
mv pages/error-pages-gh-pages/* pages/- Configure nginx’s default configuration file in advance:
# 新建nginx文件夹
mkdir nginx

# 新建default.conf文件
nano nginx/default.conf
Example nginx configuration file:
server {
    listen        80;
    server_name   localhost;

    charset       utf-8;
    gzip on;

    access_log    off;
    log_not_found off;
    server_tokens off;

    location / {
     root   /usr/share/nginx/error-pages;
        internal;
#        index  index.html;
    }

    error_page 400 /400.html;
    error_page 401 /401.html;
    error_page 403 /403.html;
    error_page 404 /404.html;
    error_page 405 /405.html;
    error_page 407 /407.html;
    error_page 408 /408.html;
    error_page 409 /409.html;
    error_page 410 /410.html;
    error_page 411 /411.html;
    error_page 412 /412.html;
    error_page 413 /413.html;
    error_page 416 /416.html;
    error_page 418 /418.html;
    error_page 429 /429.html;
    error_page 500 /500.html;
    error_page 502 /502.html;
    error_page 503 /503.html;
    error_page 504 /504.html;
    error_page 505 /505.html;

    location = /favicon.ico {
        add_header 'Content-Type' 'image/x-icon';
        return 200 "";
    }

    location = /robots.txt {
        return 200 "User-agent: *\nDisallow: /";
    }
}- Build the nginx container for the error pages, and add the Traefik middleware and service for error pages so other containers can use them. The specific
docker-compose.ymlfile is as follows:
version: '3'

services:

  errorpage-nginx:
    image: nginx:1.24-alpine
    volumes:
      - ./pages/app-down:/usr/share/nginx/error-pages:ro
      - ./nginx/default.conf:/etc/nginx/conf.d/default.conf:ro
    networks:
      - proxy
    labels:
      - traefik.enable=true
      - traefik.http.routers.error-router.rule=HostRegexp(`{host:.+}`)
      - traefik.http.routers.error-router.priority=1
      - traefik.http.routers.error-router.entrypoints=websecure
      - traefik.http.routers.error-router.middlewares=error-pages
      - traefik.http.middlewares.error-pages.errors.status=400-599
      - traefik.http.middlewares.error-pages.errors.service=traefik-errors
      - traefik.http.middlewares.error-pages.errors.query=/{status}.html
      - traefik.http.services.traefik-errors.loadbalancer.server.port=80


networks:
  proxy:
external: true- At this point, the error-pages middleware is available. When building any container service that needs custom error pages, simply add the following label to mount the error-pages middleware (remember to replace
CONTAINER_NAMEwith the corresponding service name):
- traefik.http.routers.CONTAINER_NAME.middlewares=error-pagesNow our container services have beautiful custom error pages:
 Open larger image: image.png
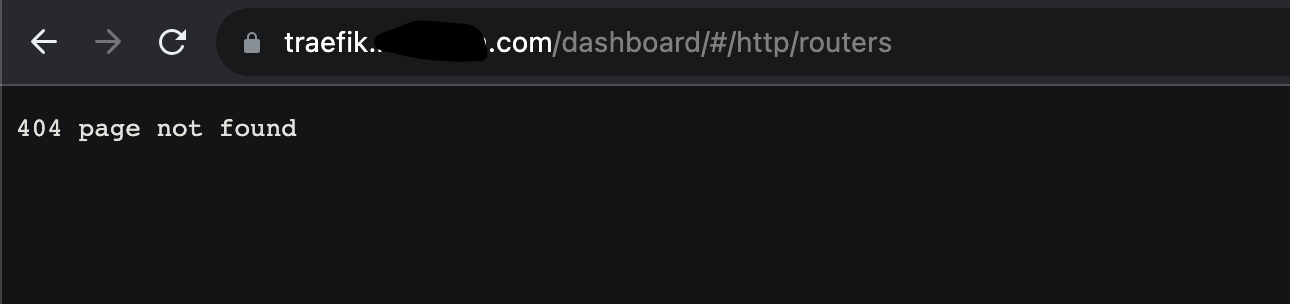
Tip: For services that require high stability, it is recommended not to configure universal error pages, because the custom error-page service depends on another container service. If that other container service goes down, our service becomes inaccessible too. I once got carried away and stopped the nginx service hosting the error pages in Portainer, which caused every container using the error-pages middleware to become inaccessible and fall back to Traefik’s default 404 prompt:
404 page not found
Absolutely ridiculous!
Conclusion
In this tutorial, I discussed a logically clear way to configure and use Traefik. In the configuration files, I only included some of the most common services and middleware; in reality, Traefik’s powerful configuration capabilities go far beyond these. Once you understand the configuration logic, I believe that when you read the official documentation again, you will discover many more interesting things. Traefik is about to reach version 3.0, and I believe more powerful and interesting features will be opened up in the future. Let’s look forward to it together!
References
- docker-traefik-portainer
- Easy container management with Docker Compose Traefik v2
- Customizing a page in Traefik v.2
- A Complete Traefik Configuration
- Networks top-level element - external
- Compose file version 3 reference
- Deploying Portainer behind Traefik Proxy